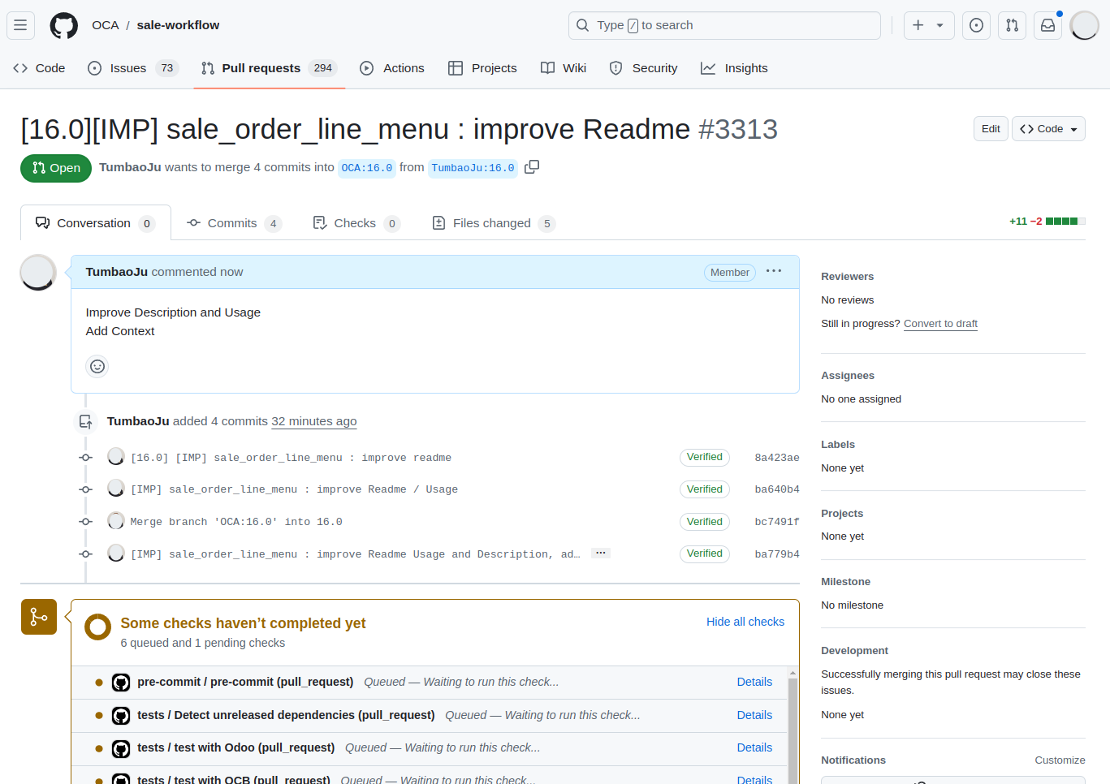
How to contribute in GitHub
How to edit the documentation in GitHub
1- Create an account (if you do not have one) or login to your GitHub account.
2- Go to the repository that contains the module for which you want to create documentation.
3- Fork the repository.
You will need to fork the repository in which the module you want to contribute is located (if it’s not already forked) in your GitHub account.
Here is the OCA Guideline on how to start those 3 steps : https://odoo-community.org/resources/code
You won’t need to clone the repository on your computer because we will use the web editor available in GitHub.
4- Go to the repository in your GitHub account (the result or the fork).
Once you have forked the repository, you will need to open the repository from your account on GitHub.
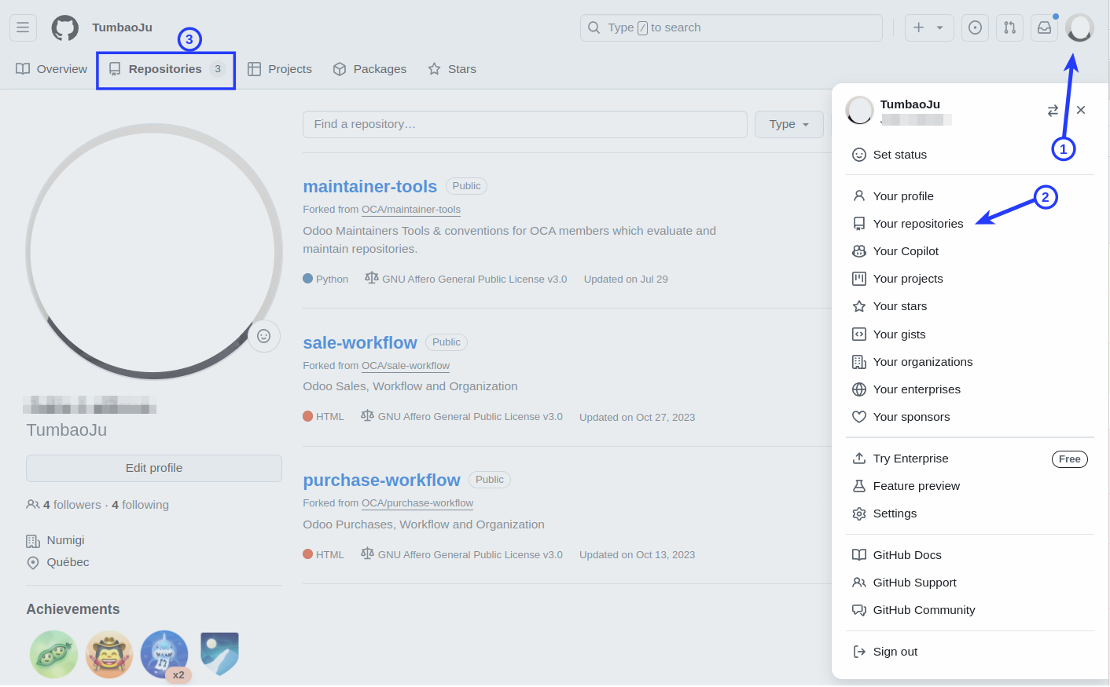
Note: If you fork, un-check the "Copy (version) branch only" to fork all branches. Select the branch for the version you want to add or adjust the readme file.
5- Open the GitHub Web Editor
Click on the repository to enter it.
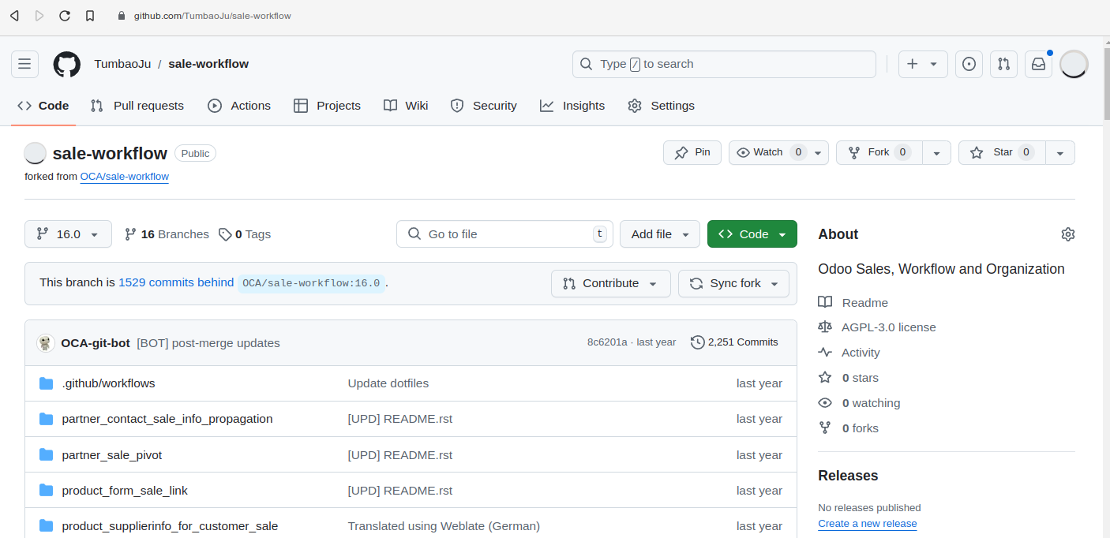
and press the period key . on your keyboard to open the GitHub Web Editor tool. (https://docs.github.com/en/codespaces/the-githubdev-web-based-editor)
QWERTY
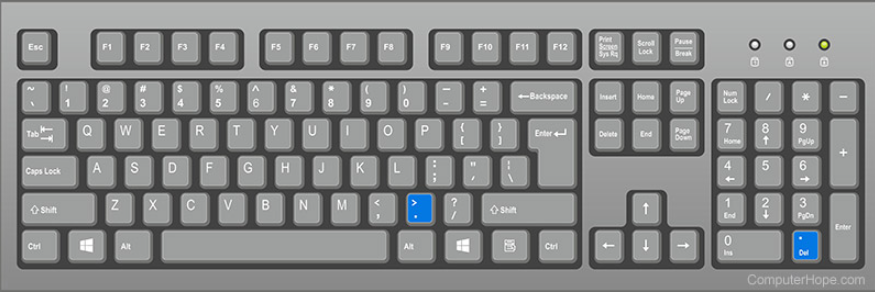

To this :
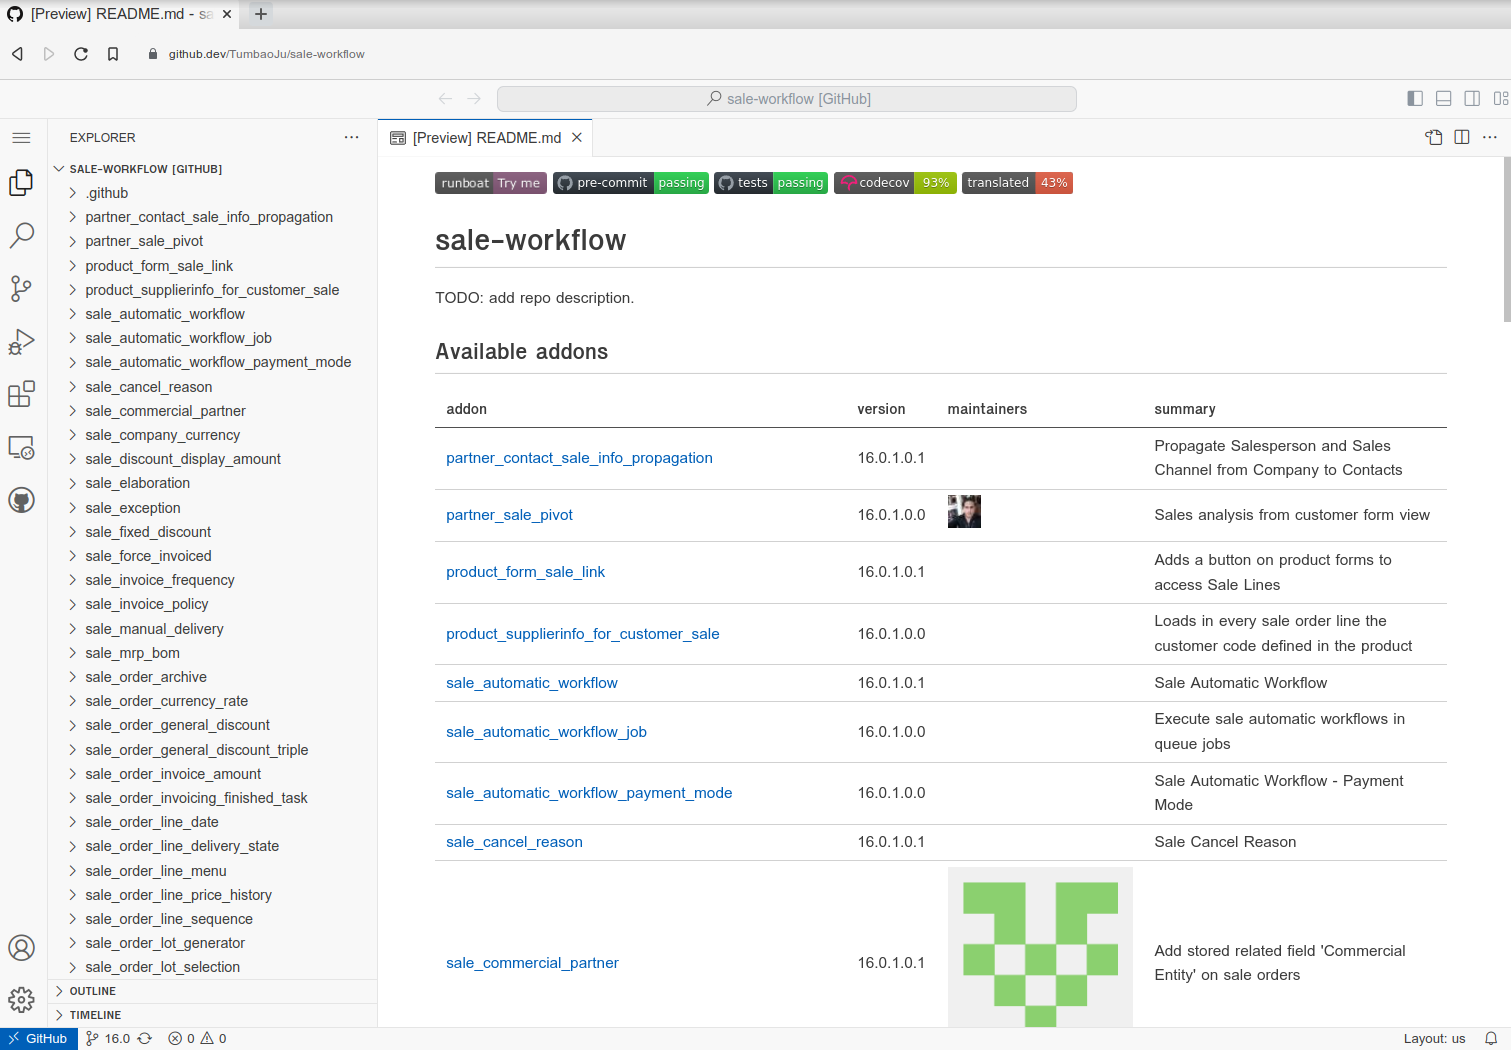
A) If you want to add screenshots to the Readme file
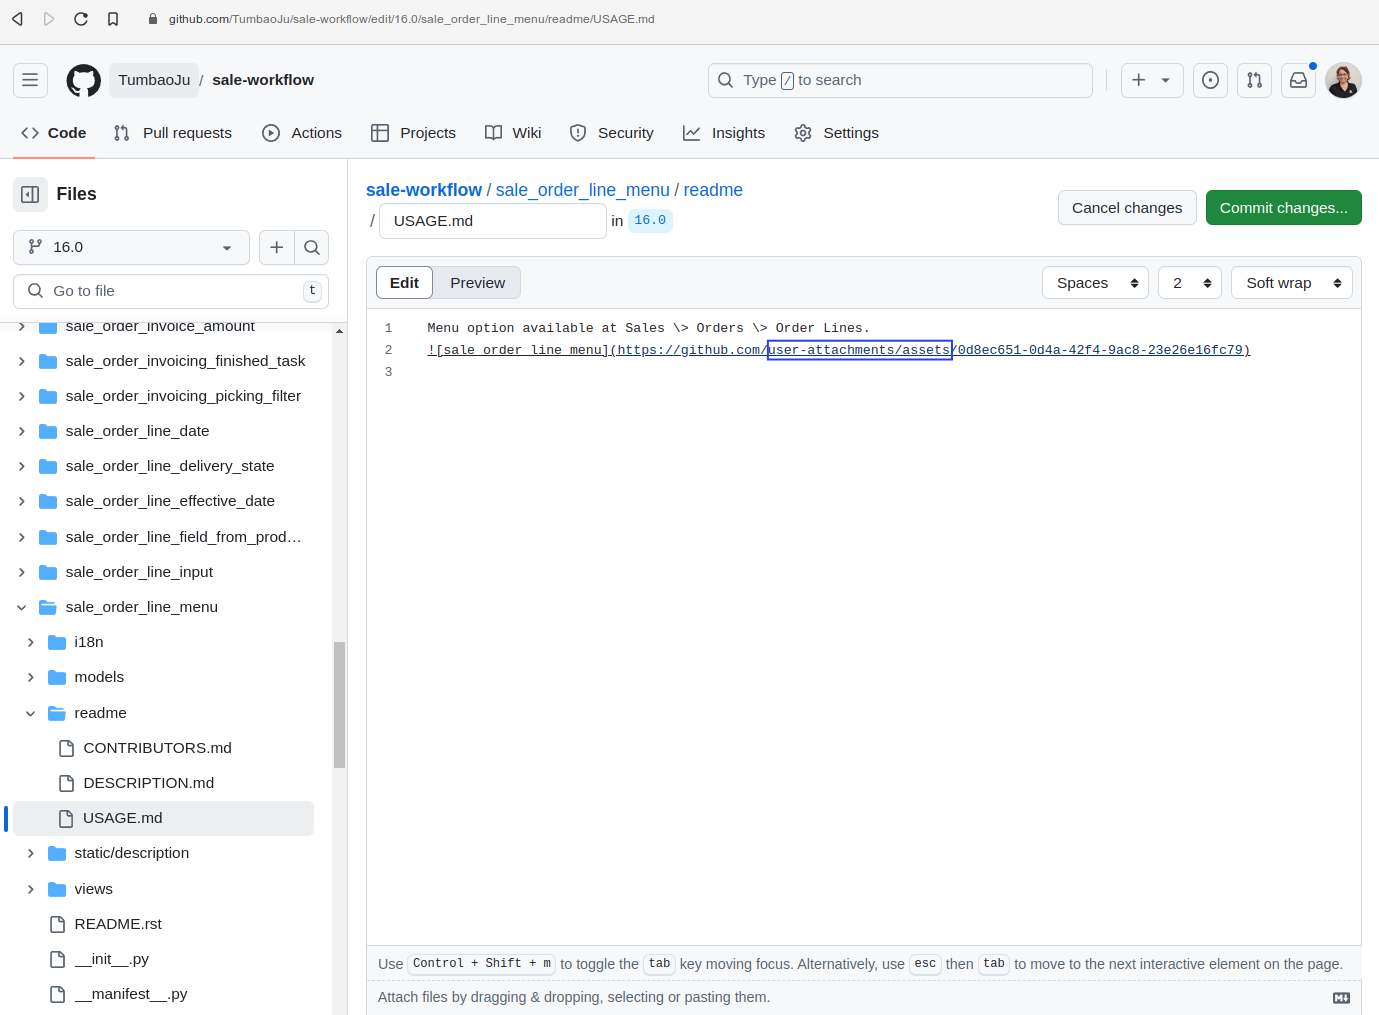
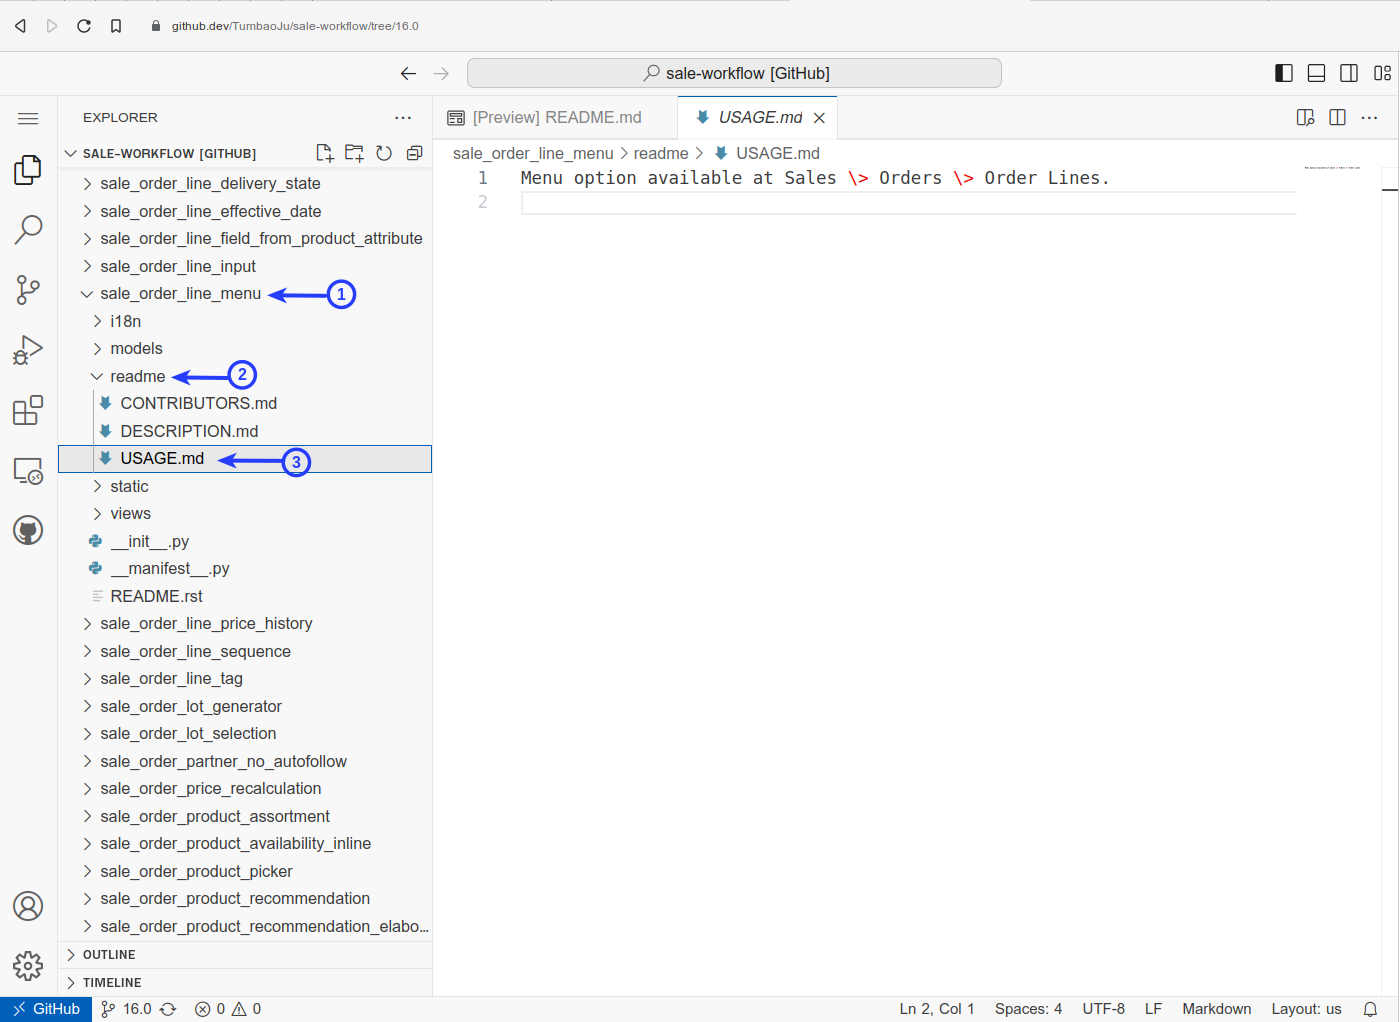
6- Browse the modules and find the readme file you want to update.
7- Update the file / write documentation!
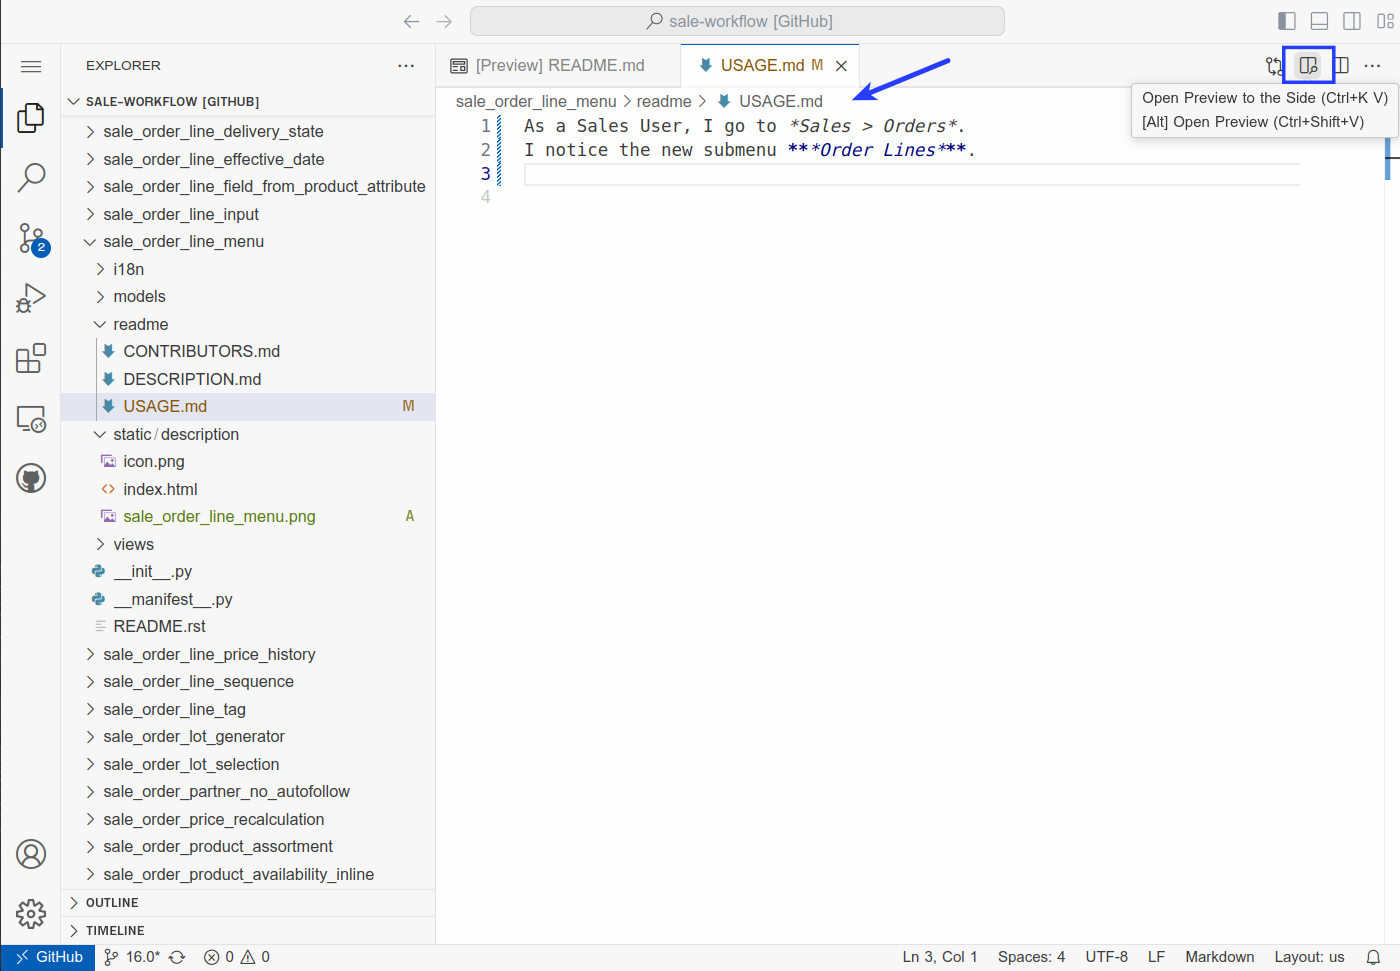
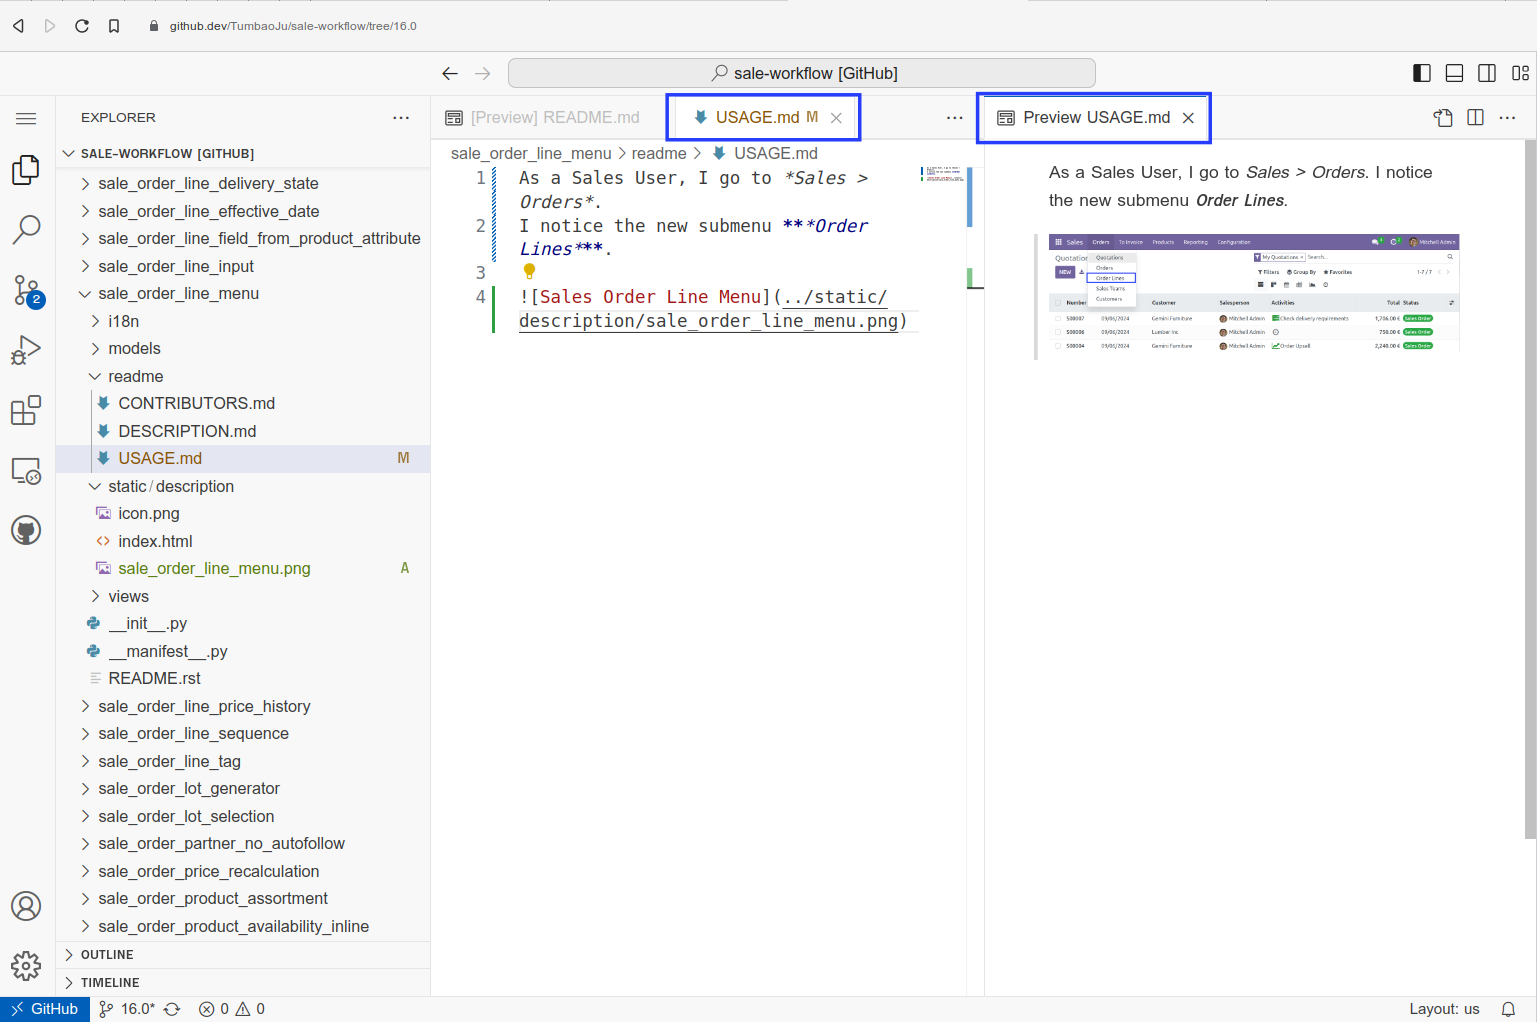
Inserting Screenshots to the Readme file
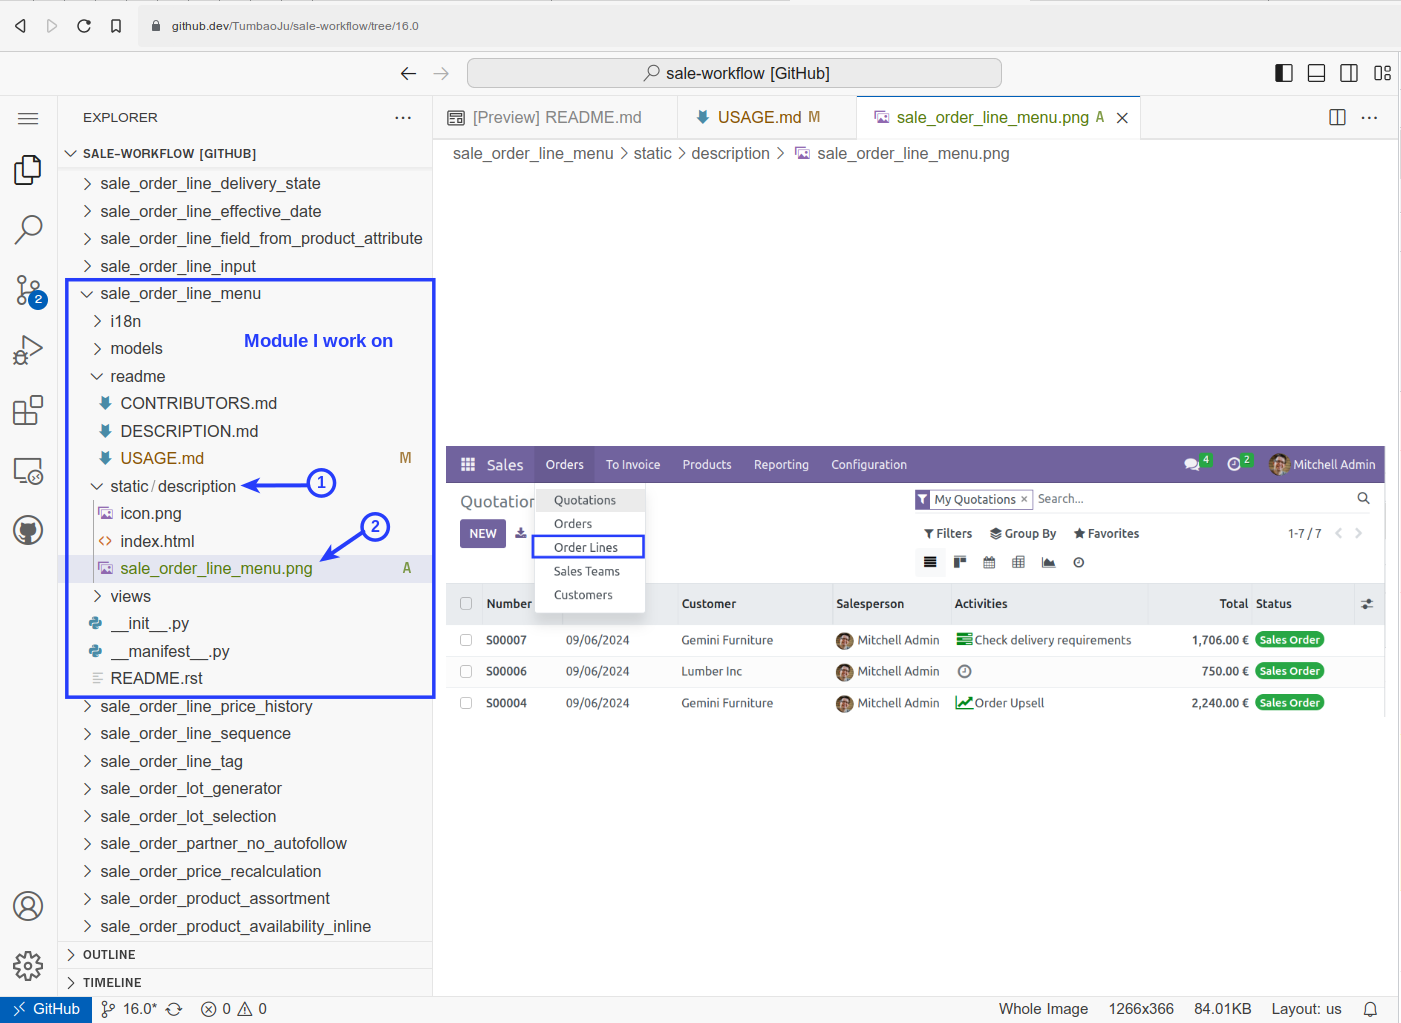
Open the folder on your computer that contains the screenshot you want to insert.
Insert by Drag & Drop the screenshot in the folder “static / description” of the module you are working on.
This folder is used to store the additional data needed to document the module and used by the OCA bot to render the final output of the Readme.
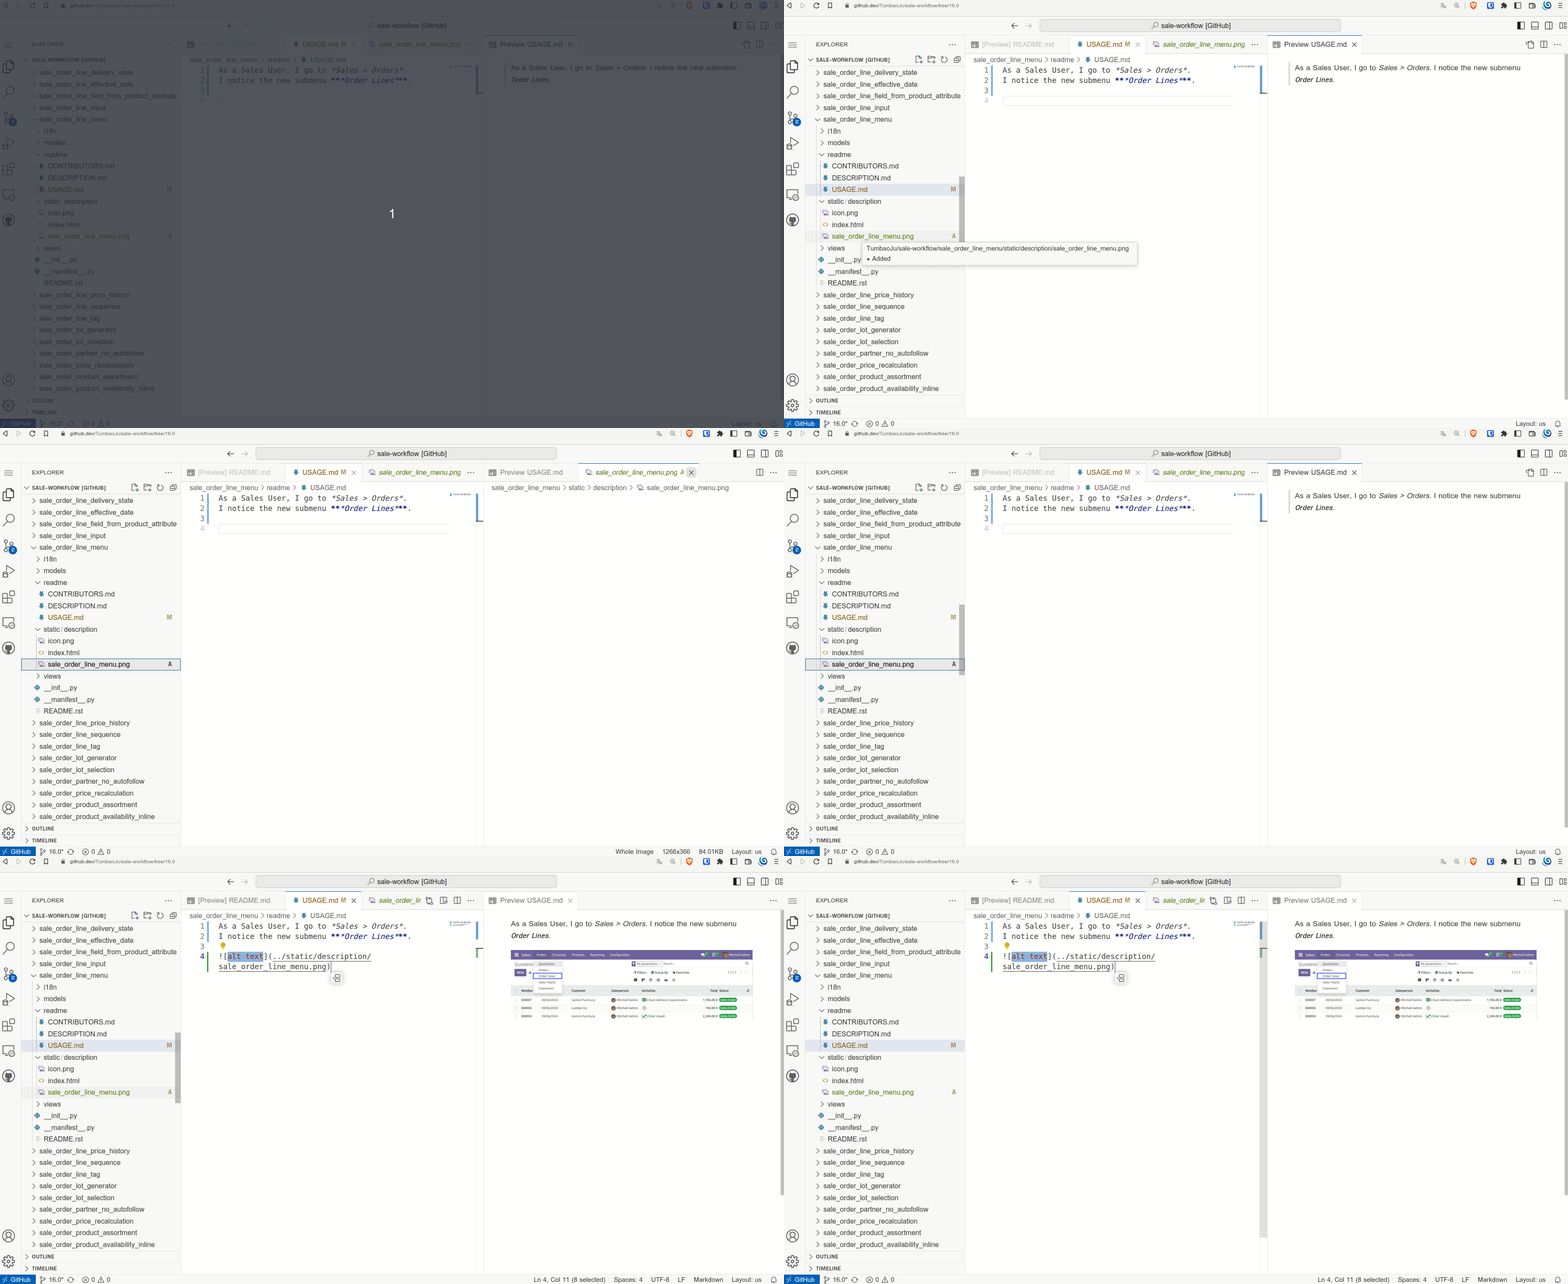
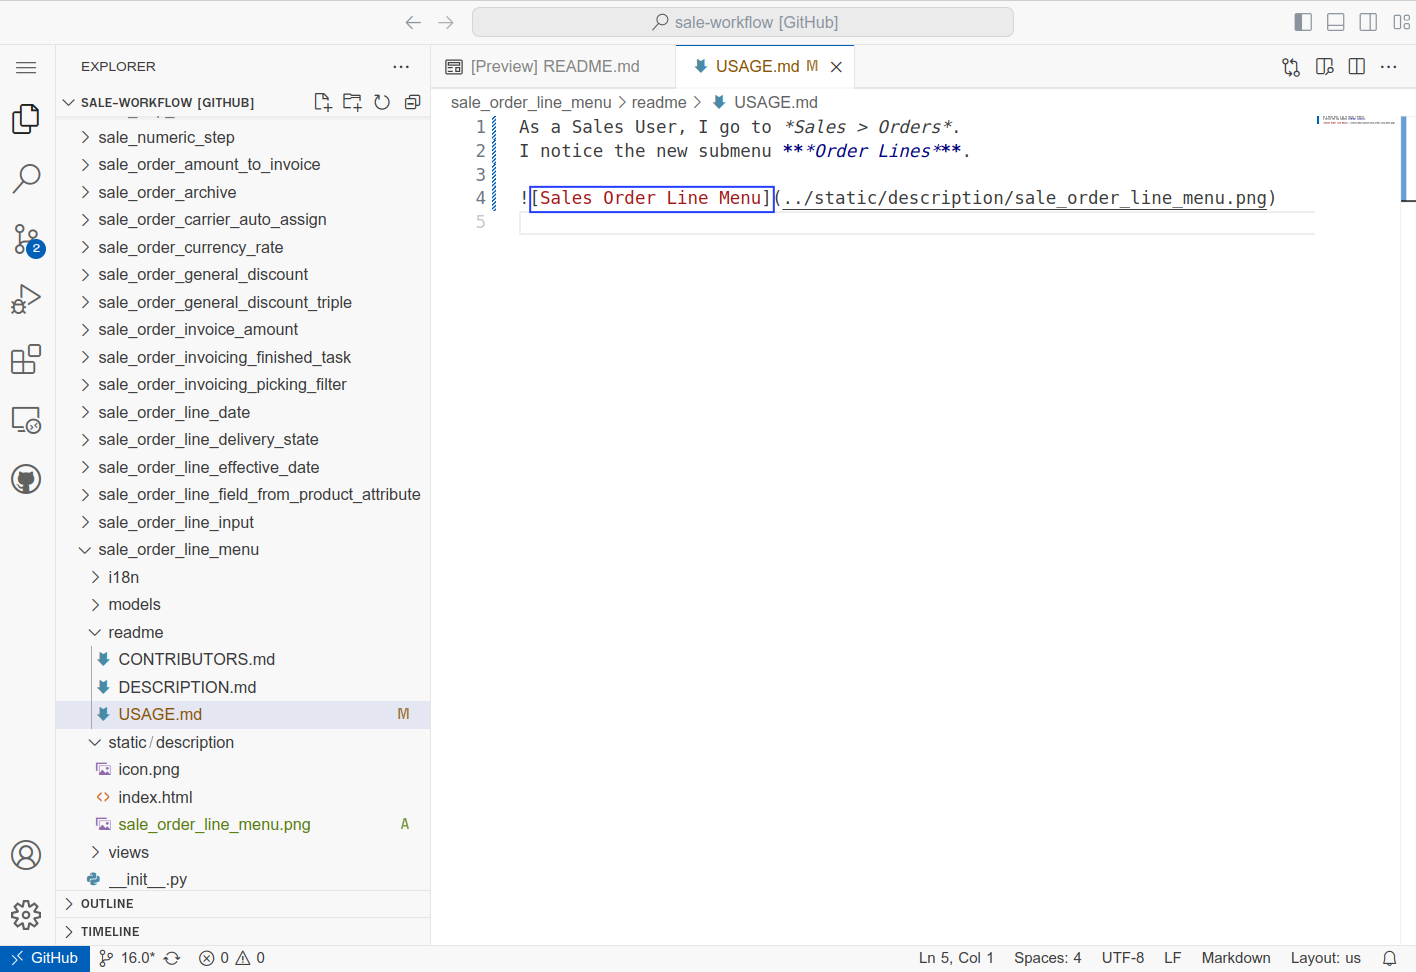
In this example, we want the screenshot image to appear in the USAGE fragment of the Readme.
We see below the relative link appearing, starting with a !
8- Commit changes
When you are ready to submit your changes, go to the icon Source Control.
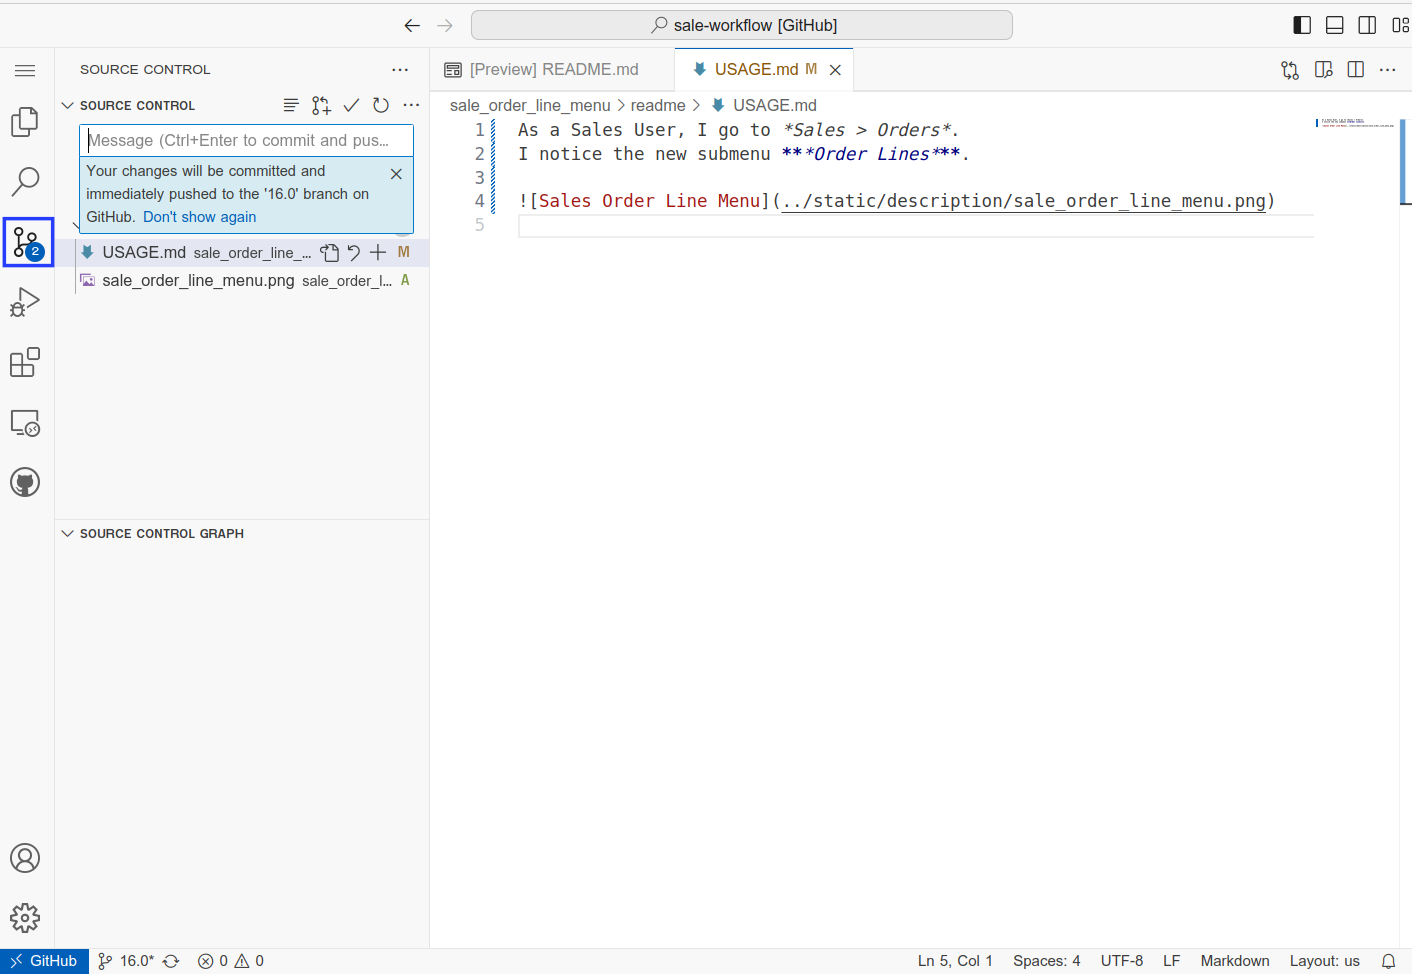
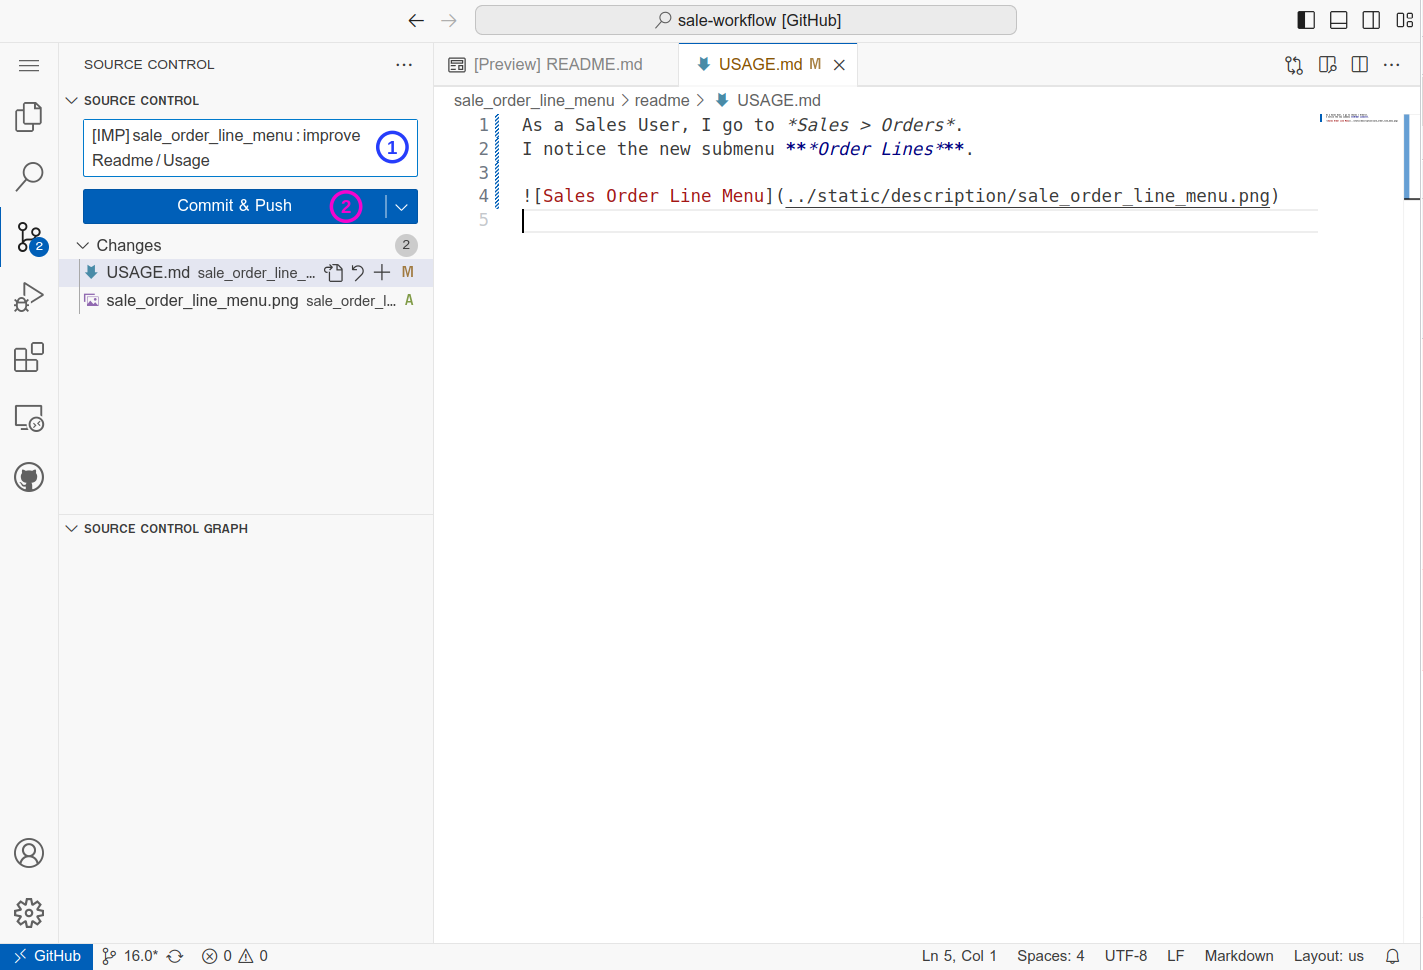
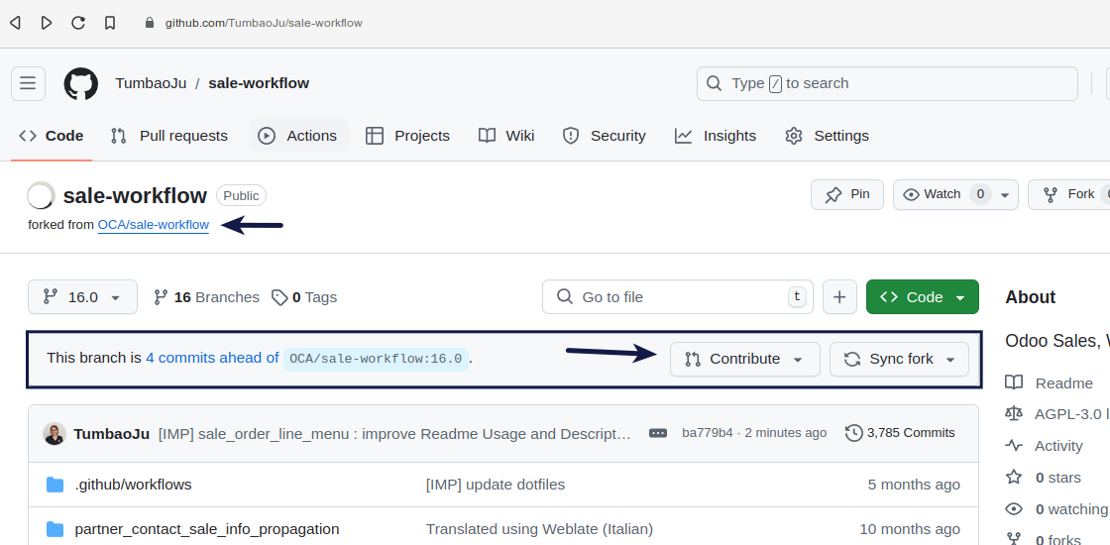
From the normal GitHub interface (exit the Web Editor tool or open a new tab on your browser), go to your forked repository.
You can see a message regarding your commits. Click on the Contribute button to create your Pull Request and send your changes into the main branch.
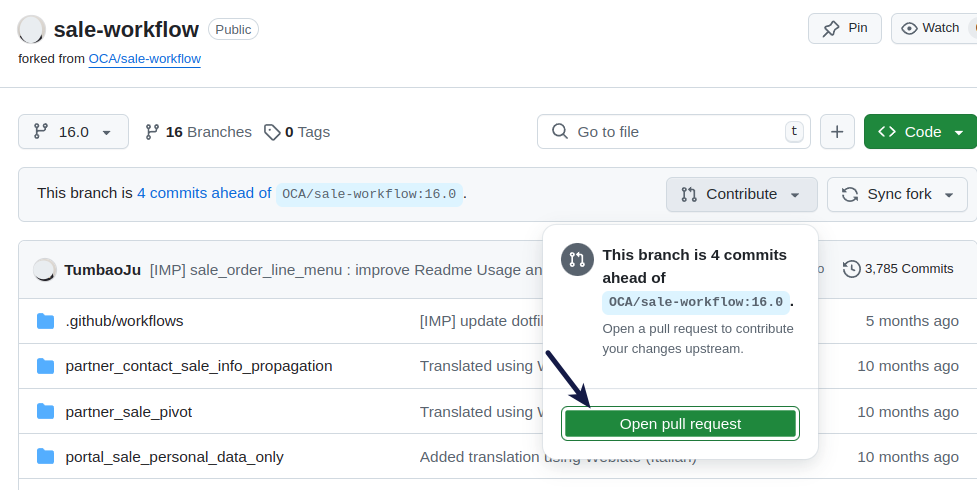
Click on the Open pull request button.
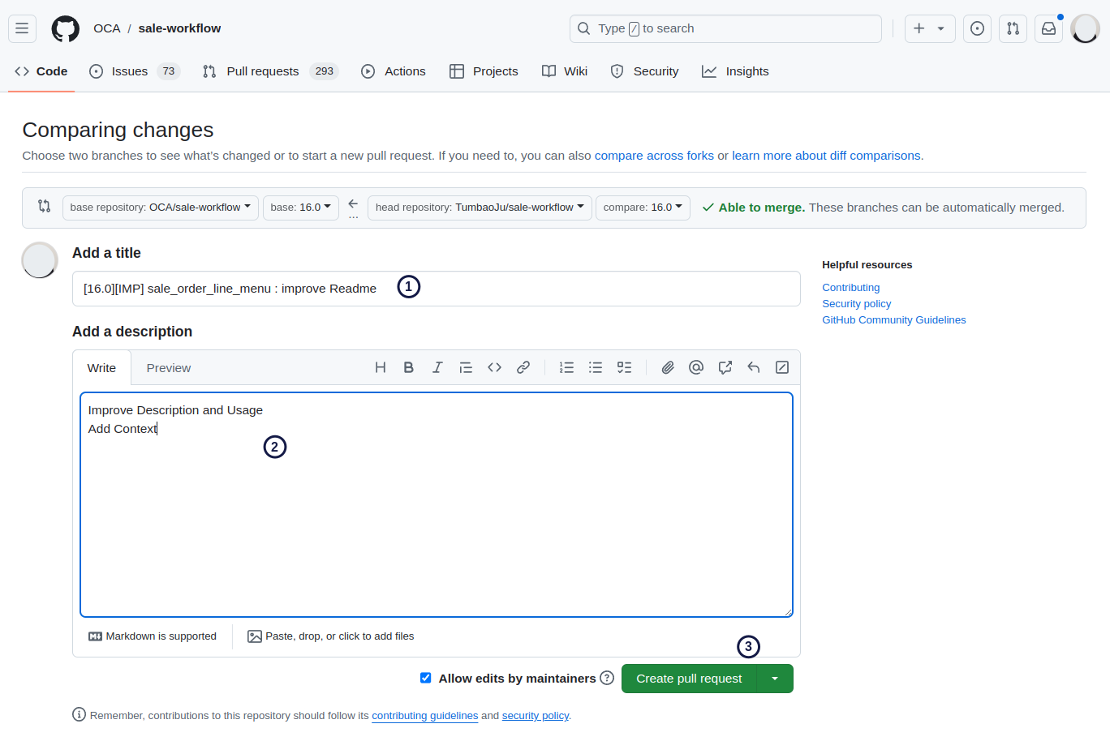
Add a title and description following the Commit Guidelines and click on the green button Create pull request.
Congratulations!
